

Create a target
Targets are the bread and butter of our platform; they define who should be invited for appointments, when and how. If you'd like to find out more about targets, our guide 'What is a target?' explains more about their use and benefits.
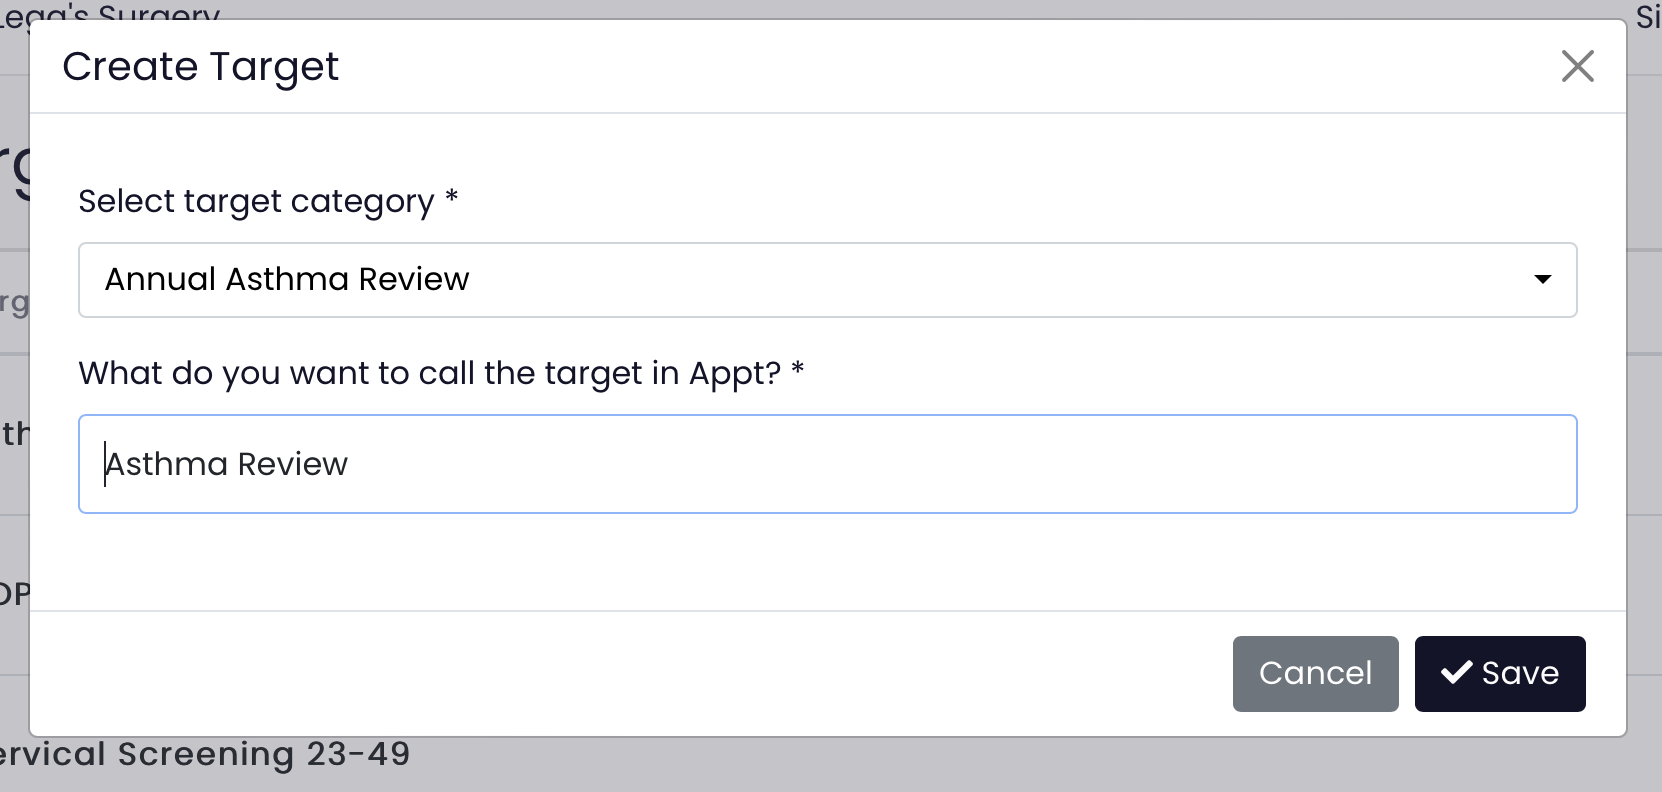
Step 1: Create your Target
- To create a new target, select the "Create a target" button on the top right of your target page (if you are a first time user, this button will be in the centre of your screen)
- Choose a target category: Select a category for your target from common preventative and management appointments
- Name your target: Give your target a clear and descriptive name; this will appear on the Appt Dashboard.
Tip: This name can be the same as the target category, for example, "Asthma review" or could be used to give more information about the target e.g. "Asthma review 65+".
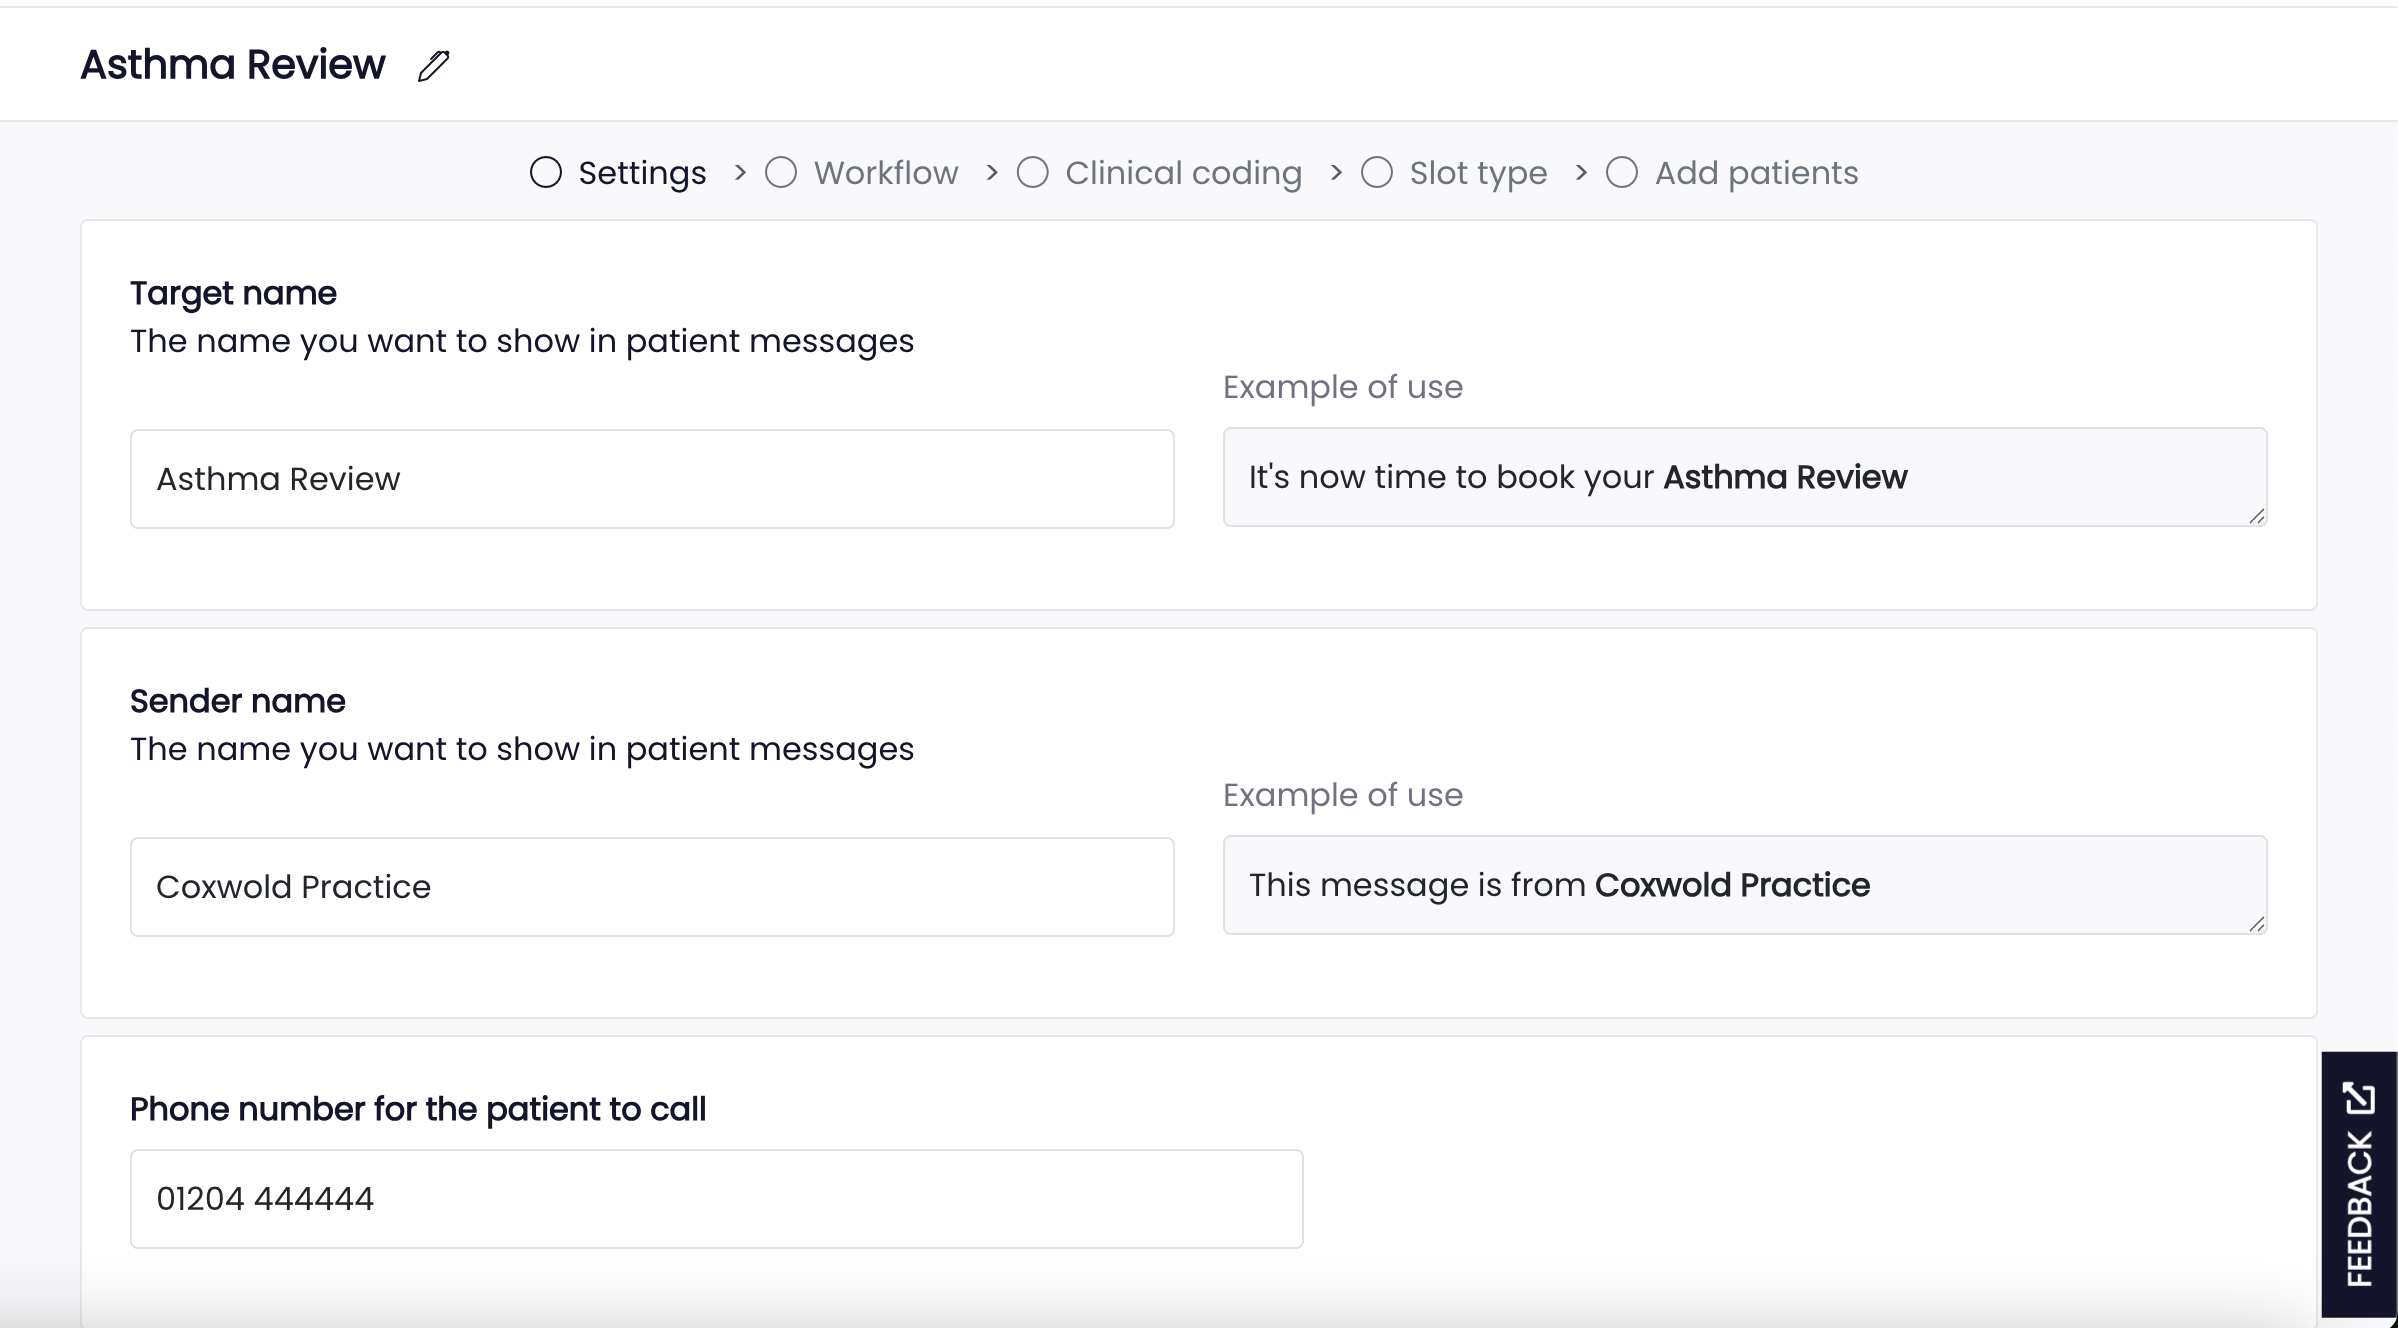
Step 2: Customise your Settings
You can now tailor your SMS invitations and call confirmations to create a clear and friendly message for your patients.
Practice Name: You may wish to choose a familiar name for your practice, for example, "Lung Health Check Team" instead of "North Kirklees GP Federation" to improve patient recognition.
Target Name: Using non-medical language can help patients understand what they are being invited to, for example using "Flu jab" rather than an "Influenza vaccine".
Tip: You can see how your chosen practice and target names will be read by patients by checking the example text alongside the input boxes.
Decline Option: Enable this option to allow patients to opt out of appointment reminders for this target. This option is useful for high-volume recalls (e.g. flu vaccinations) where patients may have already been vaccinated elsewhere e.g. a workplace, pharmacy or other service.
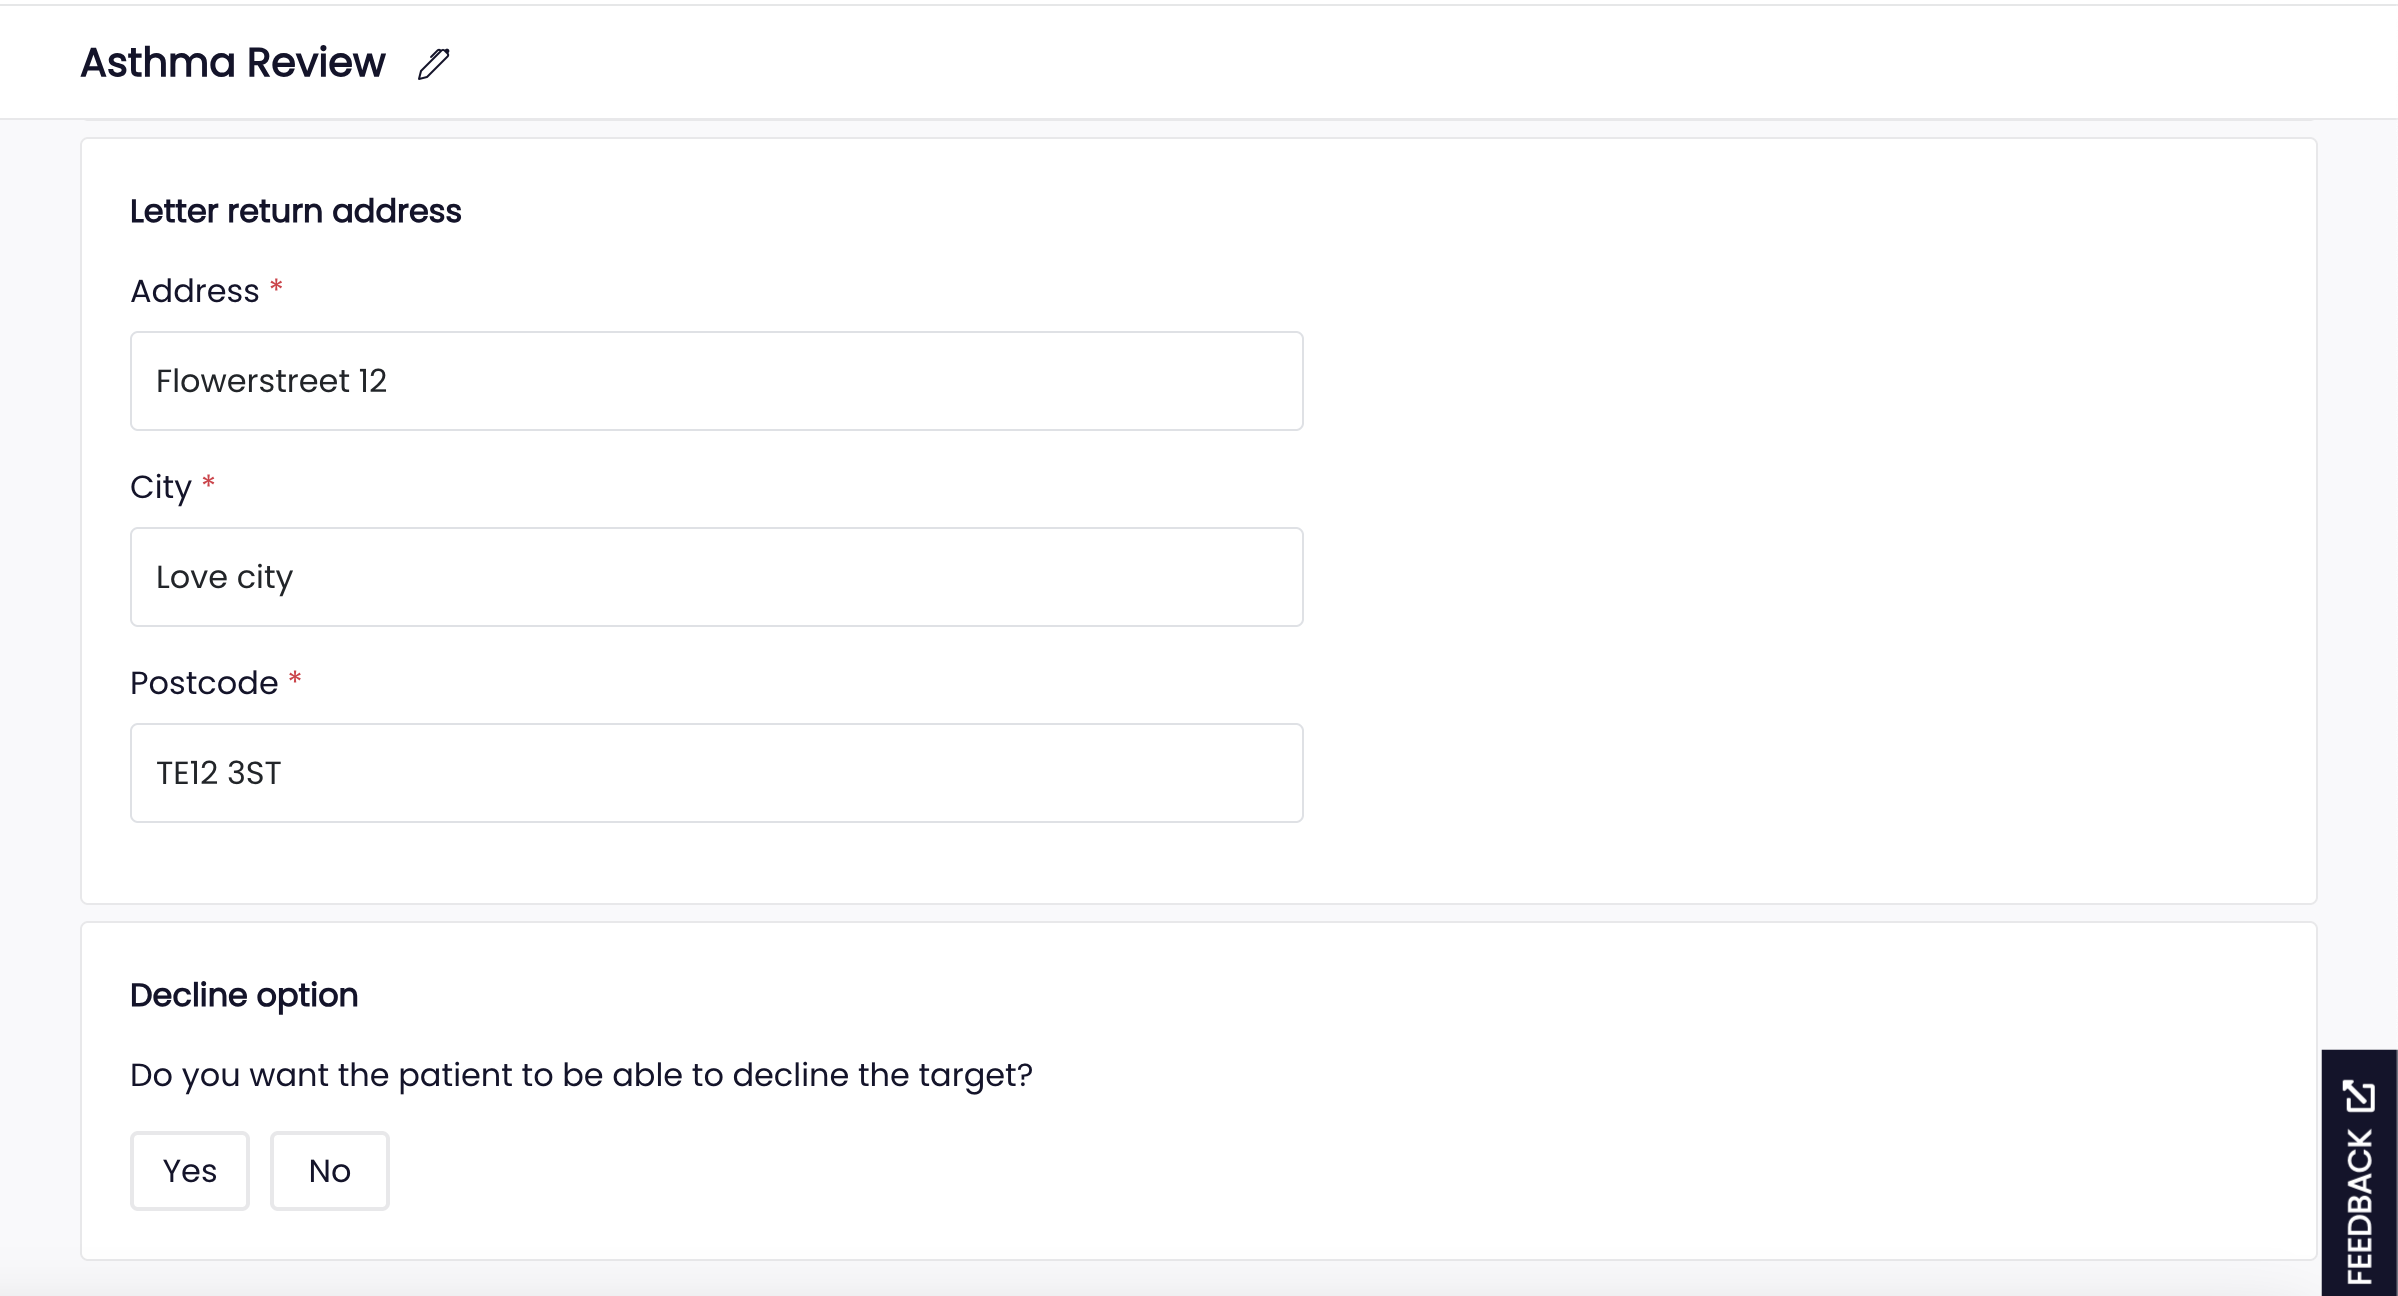
Select 'Next' to continue

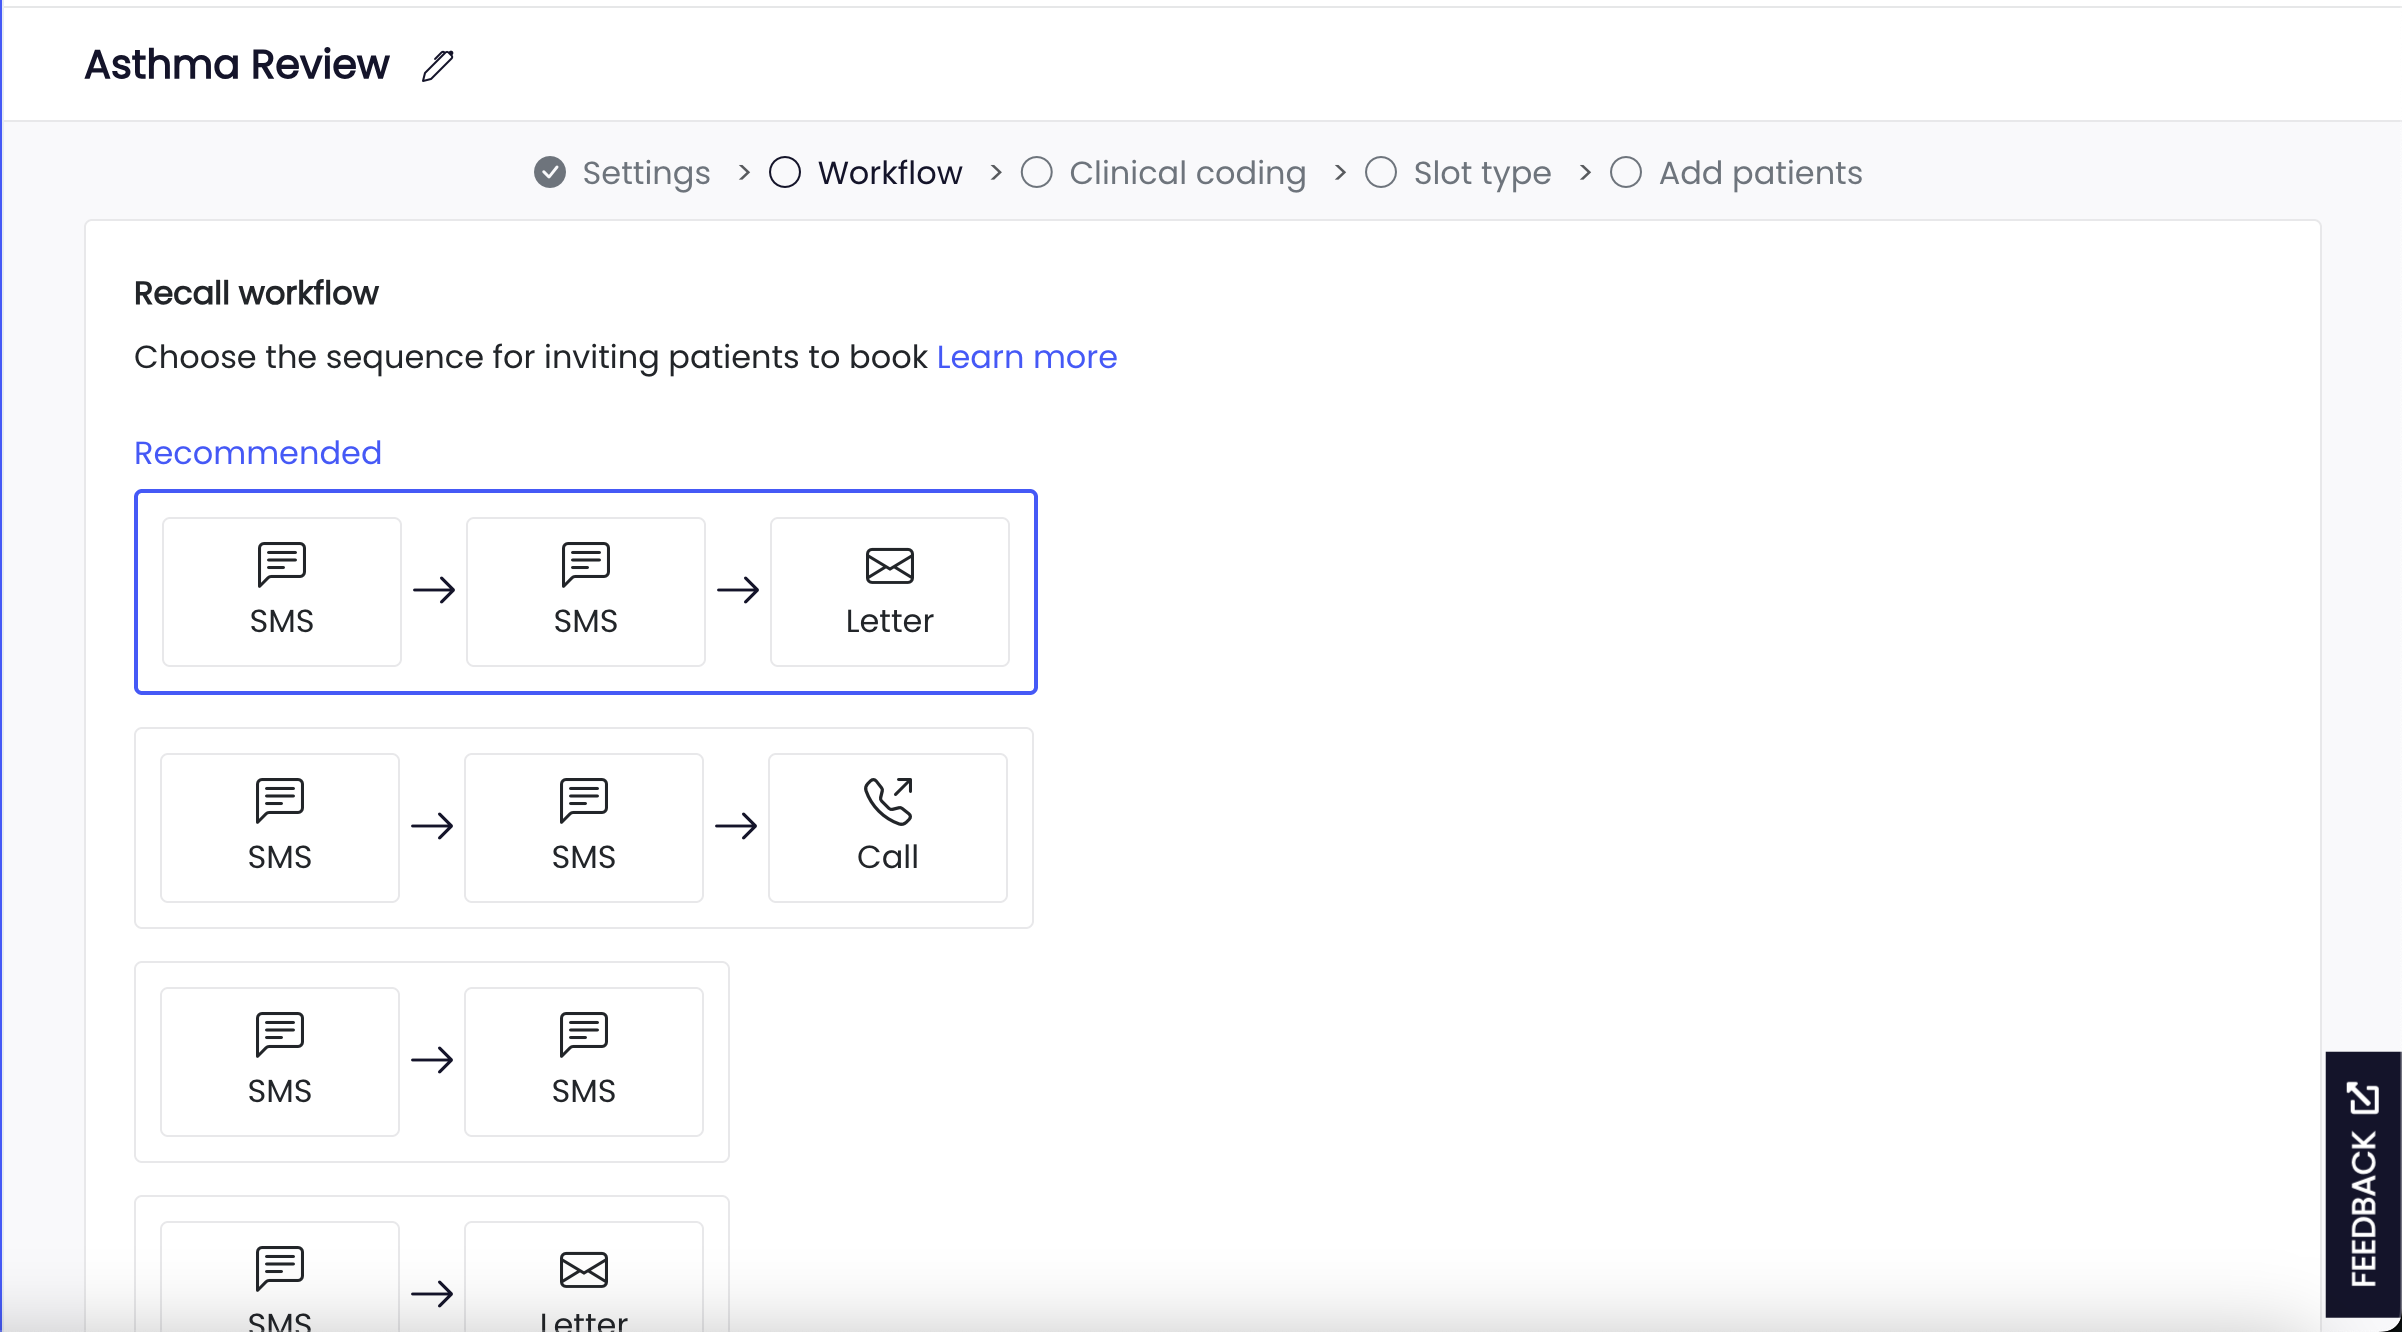
Step 3: Choose your Workflow
You can now select a workflow that outlines how your patients will be contacted for their appointments for this target. We suggest starting with a strategy of two SMS invitations followed by a call, but you can customise this to fit your needs.
Once a patient accepts an appointment or declines to be contacted, they will be removed from the workflow and will not be contacted again in any subsequent workflow stages.
Step 4: Automated Coding
Appt Health offers the ability to automatically code recalls and declined appointments. When you have decided the SNOMED CT codes to use for invitations, they can be searched for by the clinical title or by the SNOMED CT identifier. Then if a patient is recalled for this target, an entry will be made in their patient record of the interaction.
Please note that setting up automated clinical coding requires some additional setup.
EMIS users should follow this guide
SystemOne users should follow this guide
If you require any further assistance, please contact our support team at support@appt-health.co.uk.

Step 5: Choose your Appointment Type
Next, choose the slot type from the options provided. This will determine the kind of appointment that Appt Health will book. Setting up a slots differs depending on your practice software. For further information, please see our guides for EMIS and SystmOne slot set-ups.

Step 6: Upload Patients and Activate your Target
Now your target is nearly ready to go! To complete your target set-up:
- Upload your patient list: Ensure your patient data is formatted as a .csv file before uploading it to the platform
- Activate your target: Once uploaded, activate your target and to begin recalling your patients for appointments!
If you require any further assistance, please contact our support team on support@appt-health.co.uk.